5 Ways to Keep Your Touring Memories — Photos, Video, Maps and Notes
After a tour, the scenes that stay with you are often surprisingly small: clouds opening up beyond a mountain pass, the roadside station where you stopped, or the brief twist of the throttle along the coast. When you’re riding, your eyes are on the road, so you can’t hold on to every detail. Let’s think about how to record a ride so you can look back at it later or tell someone about it.
There’s no single right way to document a tour. Some riders like to save one striking view; others want to revisit the distance or route. You might edit and share a video, or trace your route on a paper map. Here are five approaches—photos, video, tracking apps, animated map videos, and paper maps or notebooks—along with the benefits and the work each one involves.
1. Save “that moment” with a photo
Photos are the easiest way to start keeping a record of a tour. Take out your smartphone and capture the view, a meal, or your bike. You don’t need special gear or editing software, and you can look at the shot right away or send it to family and friends.
The appeal of a photo is how easily one image can hold a feeling. Your bike in the morning light, a sign by the road, a mountain seen from a rest stop: even without explaining everything you felt on the ride, one memorable image can bring back the mood of the day. Smartphones may also save a photo’s location and date, which can help when you organize an album later.
On the other hand, a photo records one place at a time. It won’t show which roads you took to get there or which way you turned along the way. If the scenery makes you want to take lots of pictures, pulling out your phone at every stop can become a chore. Always pull over somewhere safe before taking a photo, and be considerate of traffic and the people around you.
One way to make photography a habit is to choose a simple theme: “one shot before departure,” “a rest stop,” or “one shot before heading home.” A small routine keeps recording from becoming a burden. You don’t need to photograph every view. Choose a few images that capture the day, and your album will be easier to revisit.
After you get home, pick a few favorite shots and add a short note. A line like “the coast we stopped at after lunch” or “the sunset on the way back” makes the scene easier to recall years later. Organizing photos into albums by date can also keep the work manageable.
2. Keep “the sound and the journey” on video
Video can capture a passing landscape, the sound of the engine, and the feeling of being on the road. Mount an action camera on your helmet or bike to record the view from the saddle. You can also film the scenery or a rest stop while parked; you don’t need a dedicated camera to get started.
The appeal of riding video is that it preserves the flow of time, which a still photo can’t. The road as you approach a bend, light filtering through the trees, the change in scenery before and after a tunnel: playing the footage can bring back the feeling of heading toward that place. Video is also useful for showing friends what a route was like or putting together a travel story.
But video adds things to keep track of: camera mounts, batteries, storage, and wind noise. Long recordings create large files, and simply finding the scenes you want can take time before you even start editing. Operating a phone while riding is dangerous. Set up the mount and recording before you leave, and don’t touch the screen while moving.
Instead of saving everything, film in sections—departure, a memorable stretch of road, a break, and arrival. Other vehicles or people may appear in the footage, so check for license plates, faces, and identifying locations before sharing it. Enjoy making a record, and take responsibility for how you handle the footage.
If you record long takes, check the camera angle while stopped. That helps avoid discovering after the ride that you filmed mostly sky. If you want to capture sound, wind direction and microphone placement can change the result, so make a short test recording before the real thing.
3. Record “the roads you rode” with a tracking app
If you don’t have time to take photos or video, a tracking app on your smartphone can be handy. It uses location data to record your route, which you can review on a map after the ride. Seeing where you started, which roads you took, and where you turned back connects the route with your memories of the scenery.
The strength of a route log is that it keeps recording without asking you to stop again and again. When you get home, the map can remind you of an unexpected detour or a stretch you’d like to ride again. The record can also help plan your next tour. Compare the track with the locations of your photos, and you may be able to find where a particular view was.
You do need to start recording before departure and stop it when you get home. Since the app uses location services, keep battery use and your phone’s settings in mind. Apps differ in how they store and share data, so check what stays on your device and what gets sent elsewhere before choosing one. If the log includes your home or workplace, review the route before sharing it.
A tracking app mainly records location. The line on a map is easy to understand, but turning it into an overlay on footage or presenting it as a travel video takes extra work. Decide whether a route record is enough or whether you also want to use it in video; that will make it easier to choose an app.
4. Turn your route into an “animated map video”
If you make motovlogs or touring videos, you can overlay an animated map on your riding footage. When your position moves in a corner of the screen, viewers can tell where you are. Even where the scenery alone doesn’t reveal the location, showing the route gives the video a sense of direction and a story.
Route Creator is an iPhone app that records your ride and exports it as an animated map video. You can use any camera. The iPhone’s job is to record your position, while you film with an action camera, another smartphone, or a camera. You can match the map animation to the start and end times of your recorded footage.
The basic process has five steps:
- Before you leave, tap “Start Recording” in the app.
- Ride as usual. Recording continues even if you close the app or use another navigation app.
- When you finish riding, tap “Stop Recording.”
- Select the track and adjust the map in the preview. Choose “Follow” to keep your current position centered or “Full Route” to show the whole route. Set the video’s start and end times, then tap “Export Video.”
- Save the exported video to Photos, then use a video editor to overlay it as a picture-in-picture on your riding footage.
Because recording and export happen separately, you don’t need to think about video editing while riding. It’s also practical to use separate devices for filming and location tracking. Choose any camera for the footage, then make the map as a separate layer afterward.
Choose the map view to suit the video. “Follow” gives a sense of moving down the road; “Full Route” shows the overall trip or a long-distance route. Even a small map overlay helps viewers understand the movement. Changing the view to fit each section can make the information easier to follow.
There is still some work involved. You need to remember to start and stop recording, export the map video, and layer it in an editing app. The first time, you’ll also spend a little time adjusting the overlay’s size and position. Once you’ve settled on a workflow, though, you can use the same steps on your next tour. If you want a map in your video, this can help you organize the editing after the ride.
Location data is stored only on your device. If you share a route, choose what to show and check that it doesn’t reveal personal places such as your starting point or destination.
5. Keep “the feel of the trip” in a paper map or notebook
You can also draw your route on a paper map or write down stops and impressions in a notebook. Unlike a digital record, it won’t automatically save your location. But choosing a road and writing down a moment you want to remember by hand can become part of the trip itself.
A paper map lets you see the terrain and surrounding roads across a wide area. You can take in the whole route without zooming a screen, and it doesn’t depend on a charged battery or network connection. In a notebook, you can write things that numbers and footage may not capture, such as “the wind was strong at the lookout” or “that café was a great place to take a break.” Opening those pages later can bring back how you felt when you wrote them.
The tradeoff is that writing things down takes effort. You can’t do it while riding, so you’ll need to stop and make a note or write from memory after you get home. If you want to reconstruct the route accurately, you’ll have to check place names and road numbers. You’ll also need to keep the map from getting wet or creased in your luggage.
Paper records work well alongside photos and route logs. Sketch the general route on a map, note stops and observations in a notebook, and print out a favorite photo to paste in. That gives you both the accuracy of digital records and the pleasure of adding something by hand.
Along with objective details like distance and time, a notebook can hold reminders for next time: “I want to take a longer break here” or “this road might be better in the morning.” Letting one trip become the seed of the next is part of the pleasure of keeping a paper record.
Choose a way to remember that suits you
Each of these five methods captures a different kind of memory. Photos preserve a striking moment; video keeps time and sound; a tracking app records the route; an animated map combines the road with footage; and a paper map or notebook holds your own words. You don’t have to use all of them on every ride.
Start by asking yourself what you’d like to look back on. Choose photos to remember the scenery, video to keep the feeling of riding, a route log to use the road again, an animated map to show viewers where you went, or a notebook to build a personal record of your trips. Once you know your purpose, it’s easier to choose what to prepare.
You don’t need to keep so many records that they take away from the ride. Choose a method that’s safe and easy to use during a break. When you look back later, you may remember not just the roads, but who you rode with, where you stopped, and how you felt that day. The right kind of record for you can become another reason to head out on your next tour.
You can change your approach along the way. Start with smartphone photos, then add a camera if you want to try video. Once you get into the habit of revisiting maps, try logging your route too. Add things little by little, and you can find a way to remember your trips that fits without letting preparation take over.
Photo credits
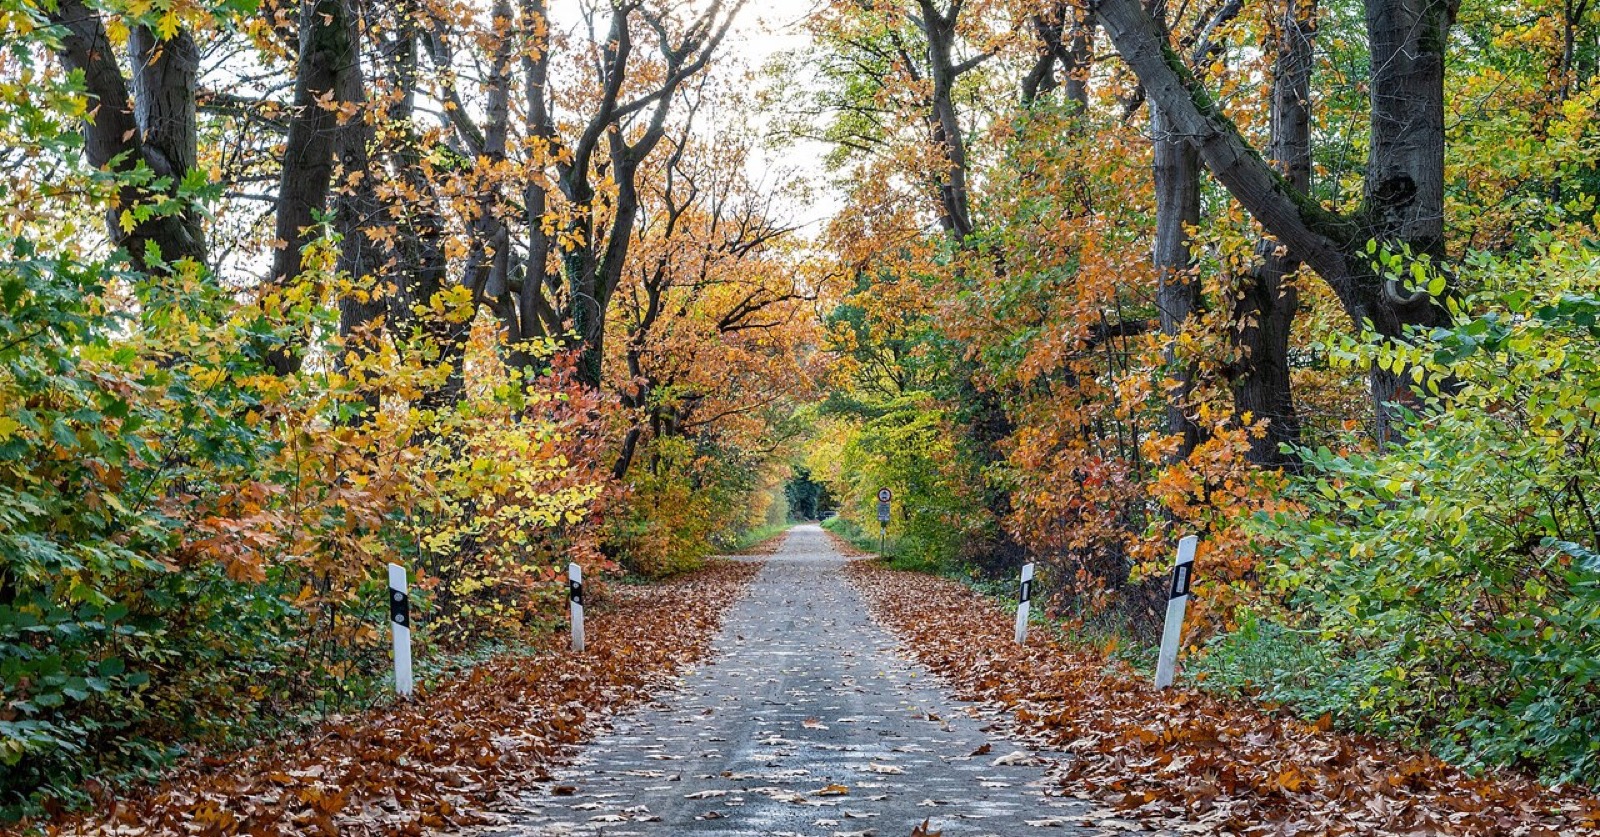
- Header image, “Dülmen, Börnste, Wirtschaftsweg -- 2021 -- 8783.jpg” — Dietmar Rabich (cropped) / Wikimedia Commons / CC BY-SA 4.0
- “Dülmen, Börnste, Wirtschaftsweg -- 2021 -- 8789.jpg” — Dietmar Rabich / Wikimedia Commons / CC BY-SA 4.0
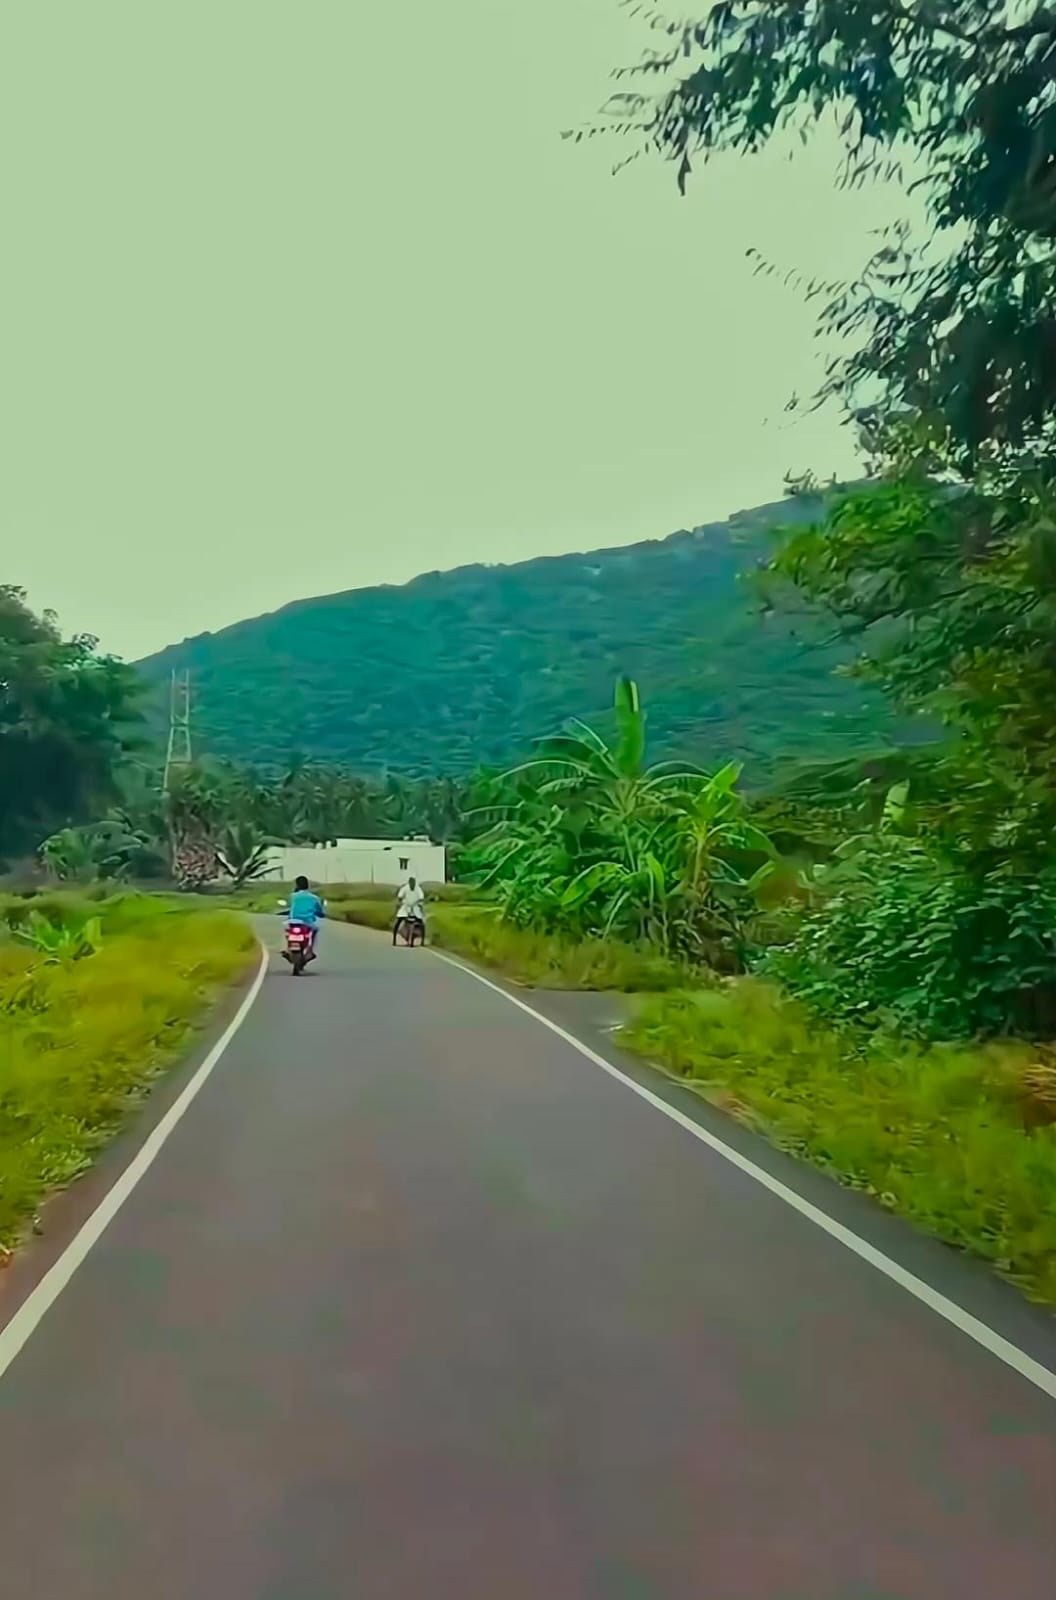
- “Monsoon Road.jpg” — Ani Vincent / Wikimedia Commons / CC0